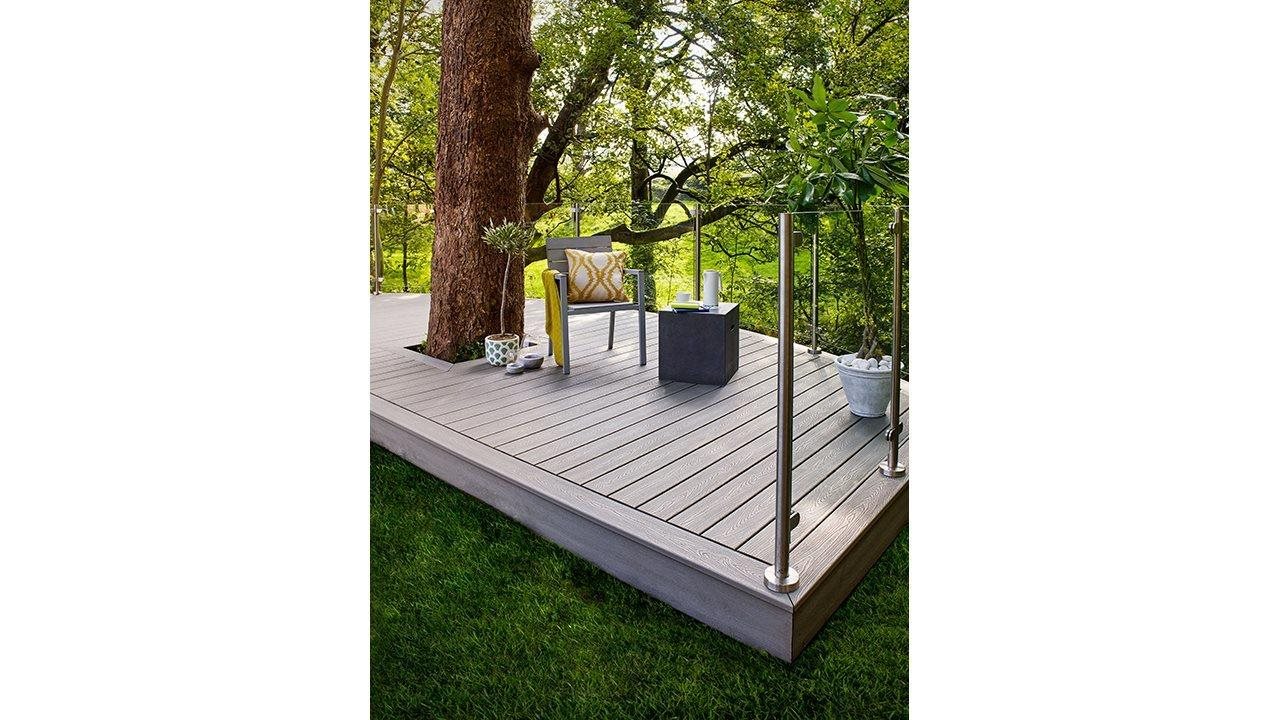
(BPT) – Whether you want to create a picturesque setting for al fresco dining, establish the perfect outdoor entertainment destination, or simply want a place to enjoy relaxing weekends, building a ground-level deck is an ideal way to maximize any outdoor space. Also called a “floating” or “platform” deck, a ground-level deck is a relatively easy and affordable DIY project. Due to its low profile, this type of structure doesn’t typically require safety railings or stairs, so the costs are comparatively lower than building an elevated deck in terms of both materials and labor.
If you’ve got the skills, time and ambition, the experts at Decks.com offer these helpful tips for how to build a ground-level deck that will transform your backyard into an outdoor oasis:
Planning and placement
A successful deck build starts with proper planning. While a ground-level deck typically does not require a permit, it is a good idea to check with your local builder’s office to confirm the building codes in your area before you get started.
Next, consider how you plan to use your deck to determine the best location for it. Will you be hosting friends and family? If so, you may want to position your deck near the house. Are you envisioning a quiet outdoor oasis? Then, a secluded area of your yard might be best.
Foundation and ventilation
Once you know where you plan to build, assess the terrain to ensure proper water run-off and ventilation. Sustained dampness on a deck can lead to mold, rot and decay. If you live in a location where the ground does not freeze, you could have the option to build the foundation with concrete deck blocks. Most areas where the ground freezes, you may need to use traditional concrete footings to build your deck foundation. It’s also recommended to install gravel under the structure to provide better drainage. Next, put stakes in the ground and string the perimeter to ensure the deck outline is level and square.
Installing the beams
At this stage, you should be able to see your deck starting to take shape. Lay the deck beams on top of the footings, making sure they are high enough off the ground to allow for ventilation. Measure diagonally and tap the beams to line them up. Consider using temporary supports to hold your beams in place. Add additional gravel to level out the ground, if needed.
Attaching anchors and joists
Once the framing beams are level, attach angle brackets at the corners of the deck for additional support where the joists and beams meet. Use joist hangers to fasten the inner joists to the beam faces at regular intervals, using the spacing recommended by the decking manufacturer, as well as local building code regulations. This provides stability and gives you a good idea of how the decking will lay.
Laying the decking
Align the first length of decking with the outside edge. Once you’ve ensured that it’s even, install the remaining deck boards perpendicular to the joist. Make sure the boards are well-secured and gapped according to the decking manufacturer’s guidelines for proper ventilation. This is also important for preserving the warranty that may come with your decking material.
Finishing and enjoying
Once your decking is installed, use a circular saw to trim any overhang for clean, finished edges. After you’ve admired your hard work, make the space your own by adding plants, furniture and decorations to bring your outdoor oasis to life.
For more deck building ideas and information, or to find a professional deck builder near you, visit Decks.com.